
P.S.) If you like the rubber stamps, you can purchase them in Missy's Etsy store.
Step 1:
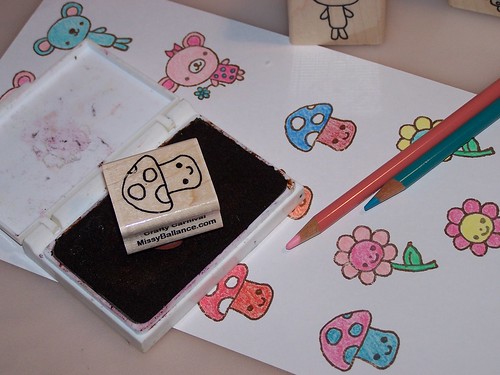
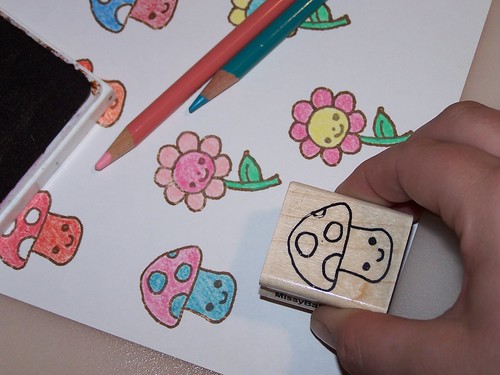
Stamp a bunch of images into a peice of white cardstock for multiple cards (or you can just do one at a time). I used a brown stamp pad for a low-key vintagy feel.
Step 2:
After you've stamped your images, color inside the lines with your favorite brand of colored pencils.

Step 3:
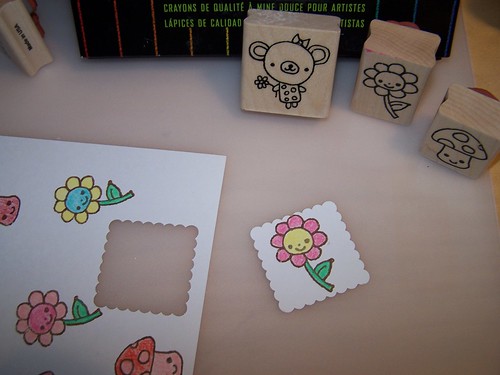
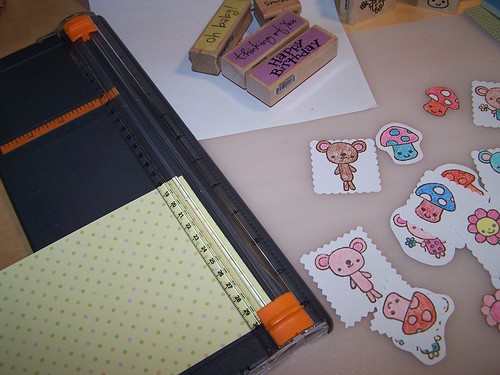
Use a large paper punch to cut out pretty shapes around the stamped images. It might actually be easier if you punched the paper BEFORE stamping (trial and error, right?) But since I didn't do that, I punched upside down so I could see more clearly what area would be punched out (making sure not to cut off my stamped image).

Step 4:
Use a paper cutter to help you cut out a rectangle of scrapbooking paper, which matches the colors used in the stamps. The rectangle should be smaller than the card you plan to mount it on.
Step 5:
You can use a stamp with an appropriate word or saying (you can often get these in the $1 of craft and discount stores). Stamp it in the brown ink, directly onto the scrapbook paper.

Step 6:
Use some double-sided mouinting foam on the back of your stamped image. Mount it on the scrapbooking paper. (You can find mounting foam at dollar and discount stores for much cheaper than at rubber stamping and scrapbooking stores, FYI).

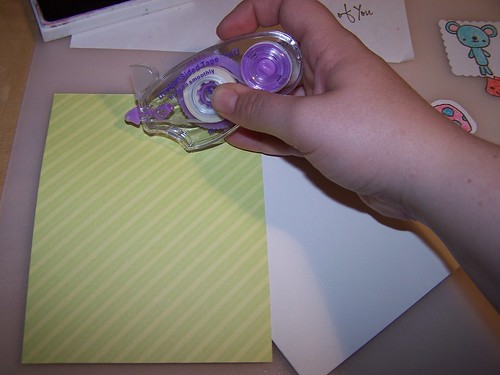
Step 7:
Use a double-sided tape pen on the back of the scrapbooking paper. I love these! You can also get them for WAY cheaper at dollar and discount stores and they work beautifully. Use the pen all around the edge of the paper and then in sort of a grid pattern in the middle. Center the scrapbooking paper onto the front of a pre-made card.
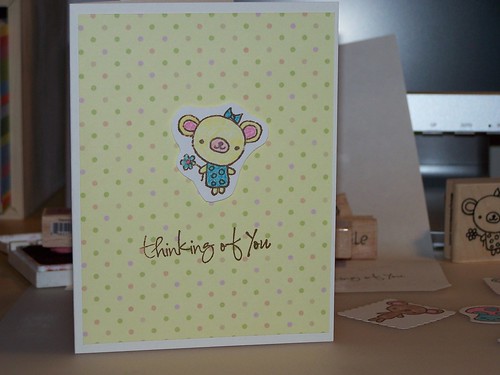
And you're done!
No comments:
Post a Comment